

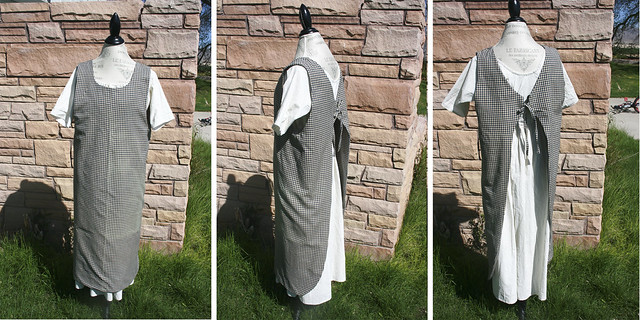
The first apron in our "Walk Through Apron History" is an Edwardian era full length, all one piece beauty. It is very simple to make, and like everything else in the Edwardian era, provides complete coverage. :)
This pattern is one size fits all. There are tips at the end of the post for enlarging or adjusting the pattern to fit smaller or more robust frames. For reference, I am modeling the apron above without any adjustments to the pattern. I am 5'2" and wear a size 10/12. There are two different ways to sew this apron, one with a bias tape edge, the other without. I've included instructions for both in the tutorial.
Supplies Needed:
1 1/2 yds of fabric {44 inches wide for S/M 60 inches wide for L/XL)
2 packs of 1/4 inch double fold bias tape
2 buttons or snaps
Edwardian Apron Bodice Pattern
Bias Tape Instructions/Button or Snap Closure
Step 1: Print and tape the pattern pieces together according to the directions in the file.

Step 2: Place pattern on fold of fabric. Pin. I transferred my pattern to brown paper. It's hard to get the camera to focus when the pattern is white on white fabric!

Step 3: Extend the bottom of the bodice at least 33 inches, more if you are taller. This is done free hand. I curved the back edge as well. CUT. This apron is made with one solid piece of fabric. Only the shoulders are stitched together.

Step 4: Match shoulder seams sharing the same armhole and sew with a 1/2 inch seam allowance. The photo above shows the stitched shoulder seams wrong side out.

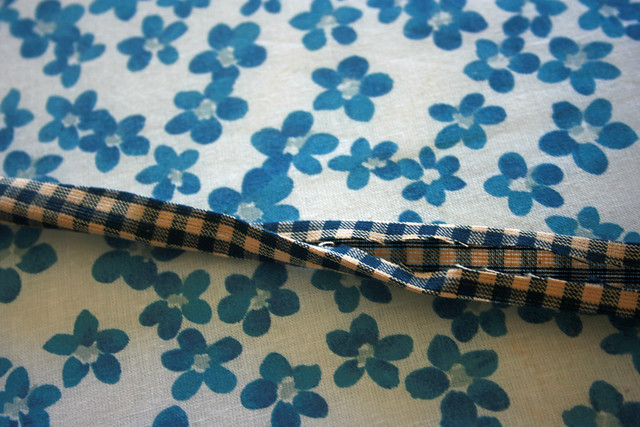
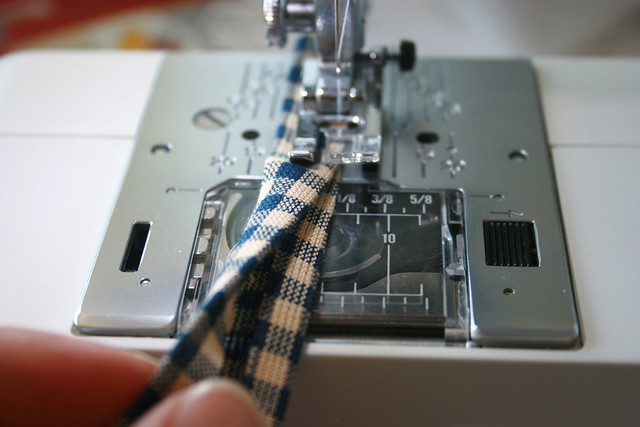
Step 5: Sew bias tape along all edges of the apron. Don't forget the neckline and arm holes!

Step 6: Sew button or snap on the left back side and the opposing snap or a button hole on the right back side. If sewing a snap make sure the snap is on TOP on the left side and UNDERNEATH on the right side. :)

Done!
No Bias Tape Instructions/Tie Closure
Follow steps 1-3 above cutting out TWO full apron pieces instead of one. You'll need at least 3 yards of fabric.
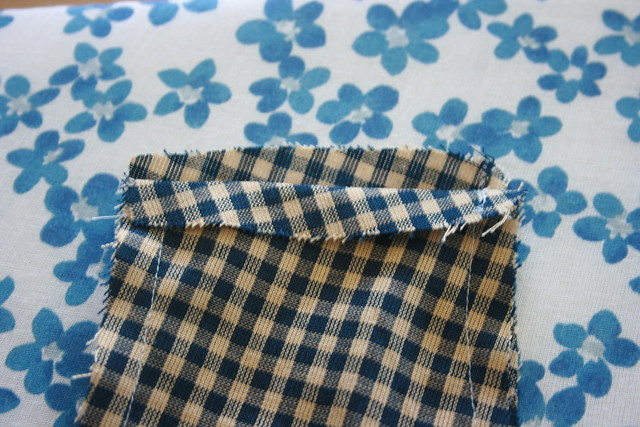
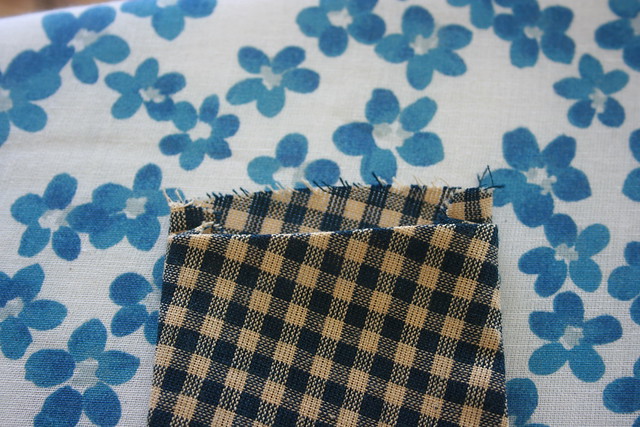
Step 4: Cut out 2 2x12 inch pieces of fabric. Press down 1/4 inch on each long edge, then press in half.
Step 5: Sew down the edges to create ties.

Step 6: Place one apron piece down on the table or floor right side facing up. Pin one tie to each back side piece. Place the other apron piece right side down so the right sides are together. Sew along all outer edges, leaving the shoulder seams open and a 5 inch opening at the bottom for turning. Make sure to stop stitching 1/2 inch away from the ends of the shoulder seams. See next step for the reason why.
Step 7: Iron down the shoulder seams 1/2 inch on one apron piece {there are four shoulder edges!} You can also see the shoulder seam pressed down on the top apron piece in step 6 above.
Step 8: Turn right side out and press all edges nicely. This photo shows you what the shoulder seams will look like when you have turned the apron right sides out and pressed.

Step 9: Match the shoulder seams sharing the same armhole to each other with the unpressed edges next to each other. Sew with a 1/2 inch seam allowance. When done bring the pressed edges together enclosing the raw edges and hand stitch the opening closed.
Step 10: Sew the opening at the bottom of the apron closed either by hand sewing it closed or by top stitching 1/8 inch from the edge of the apron all the way around.
Done!
Additional tips for adjusting the pattern size.
- For smaller frames you can easily decrease bust/waist area by adding double point darts {simple tutorial here} to the front of the apron bodice.
- Smaller frames can also add extra buttons to the back closure. See photo for the first step 6 above.
- Those with more robust frames can increase the pattern before cutting by adding inches where the pink line is on the pattern making the back pieces larger. You will need to use 60 inch wide fabric.
- Larger frames can also make longer ties.
- You can use either closure for each apron. When adding ties to the bias tape apron, sew the neckline last extending the bias tape at least 12 inches past the back end on both sides.
a Rafflecopter giveaway
 © 2007-2012 Chocolate on my Cranium, LLC all rights reserved


0 comments:
Post a Comment